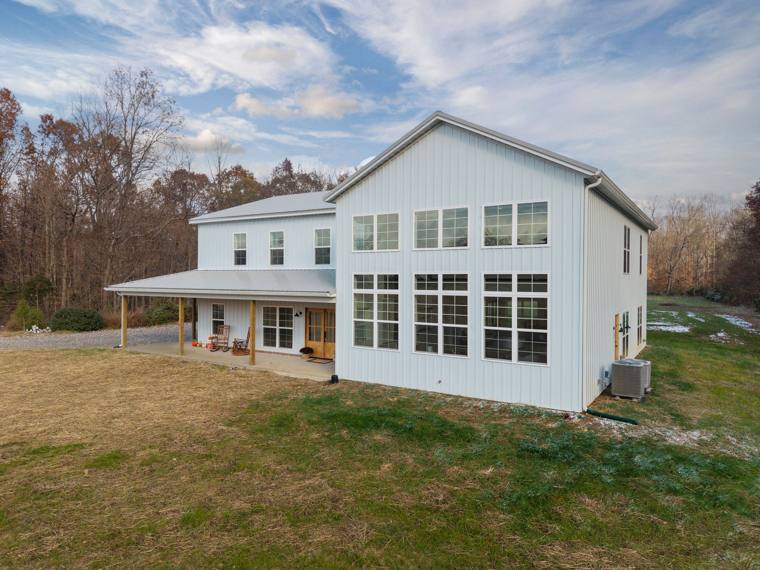
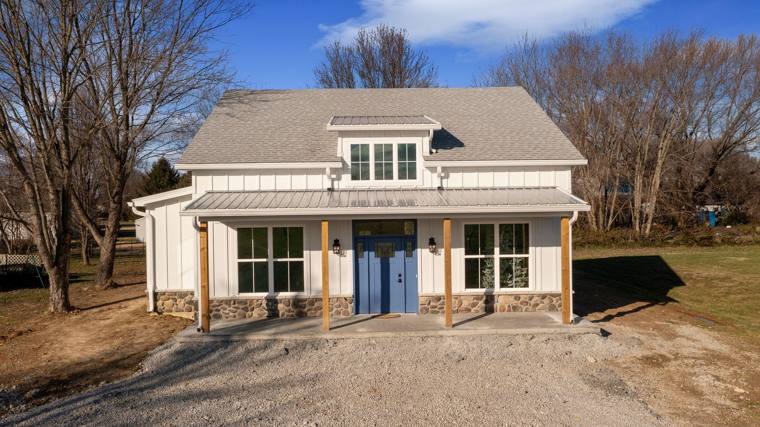
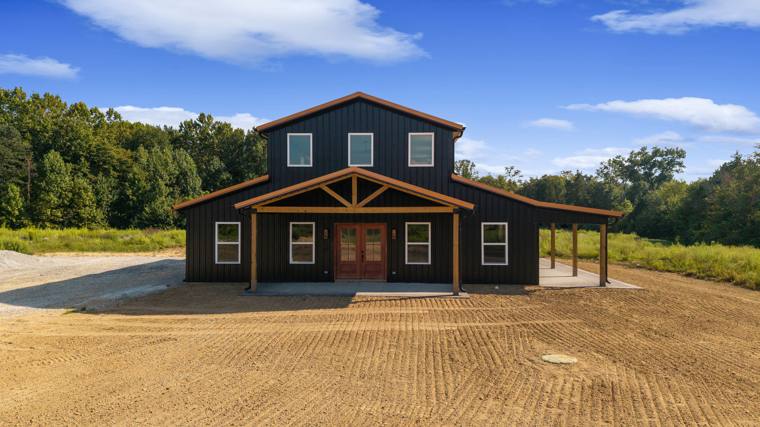
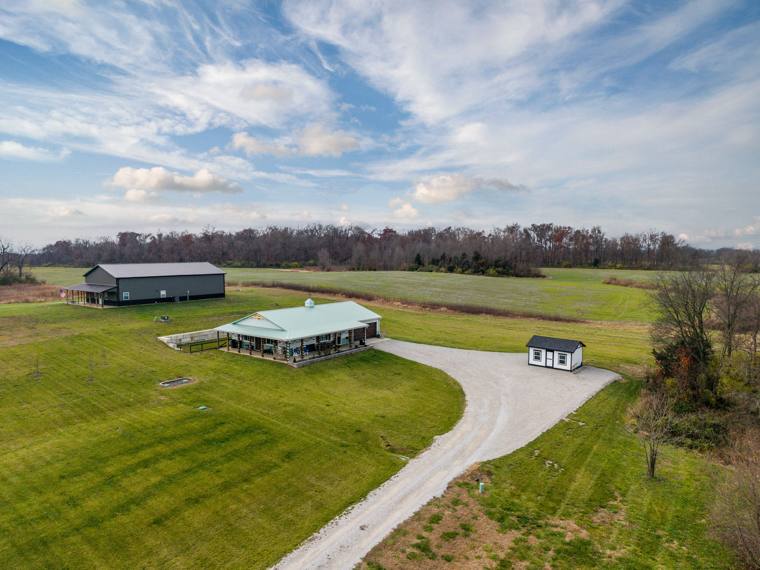
The Stages of Building Your Dream Home
From the first site visit to the day you get your keys — a plain-English walk through every stage of a custom home build.
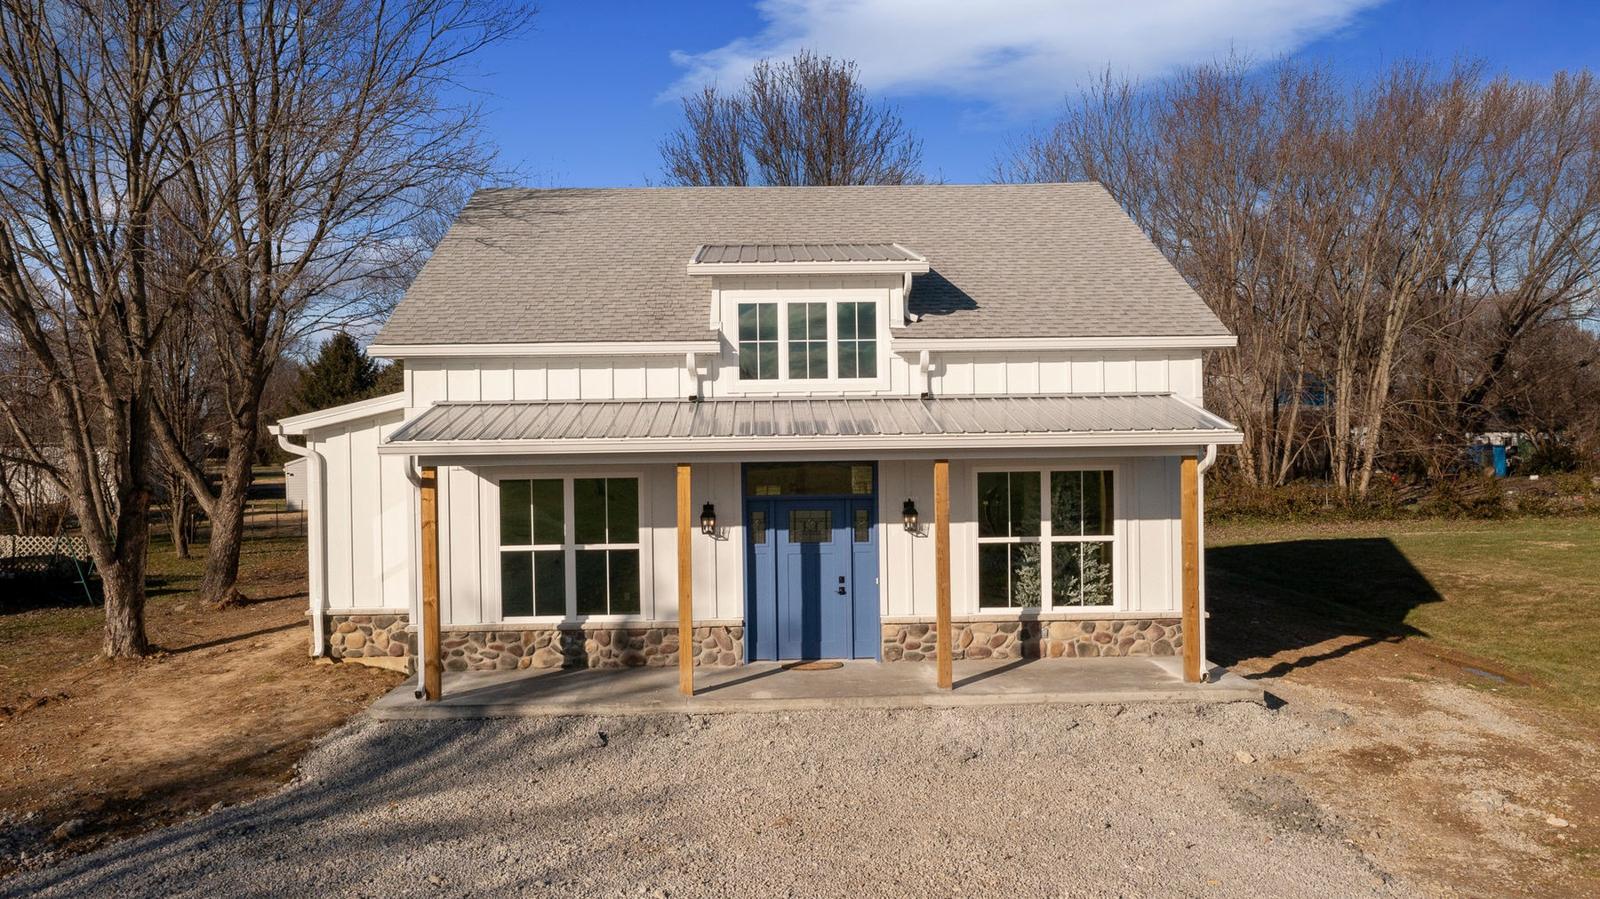
Building a custom home can feel like a black box. You sign a contract, a lot of trucks show up, and months later there is a house. Knowing what happens in between makes the process less stressful and helps you make better decisions at the moments that matter.
1. Site evaluation and planning
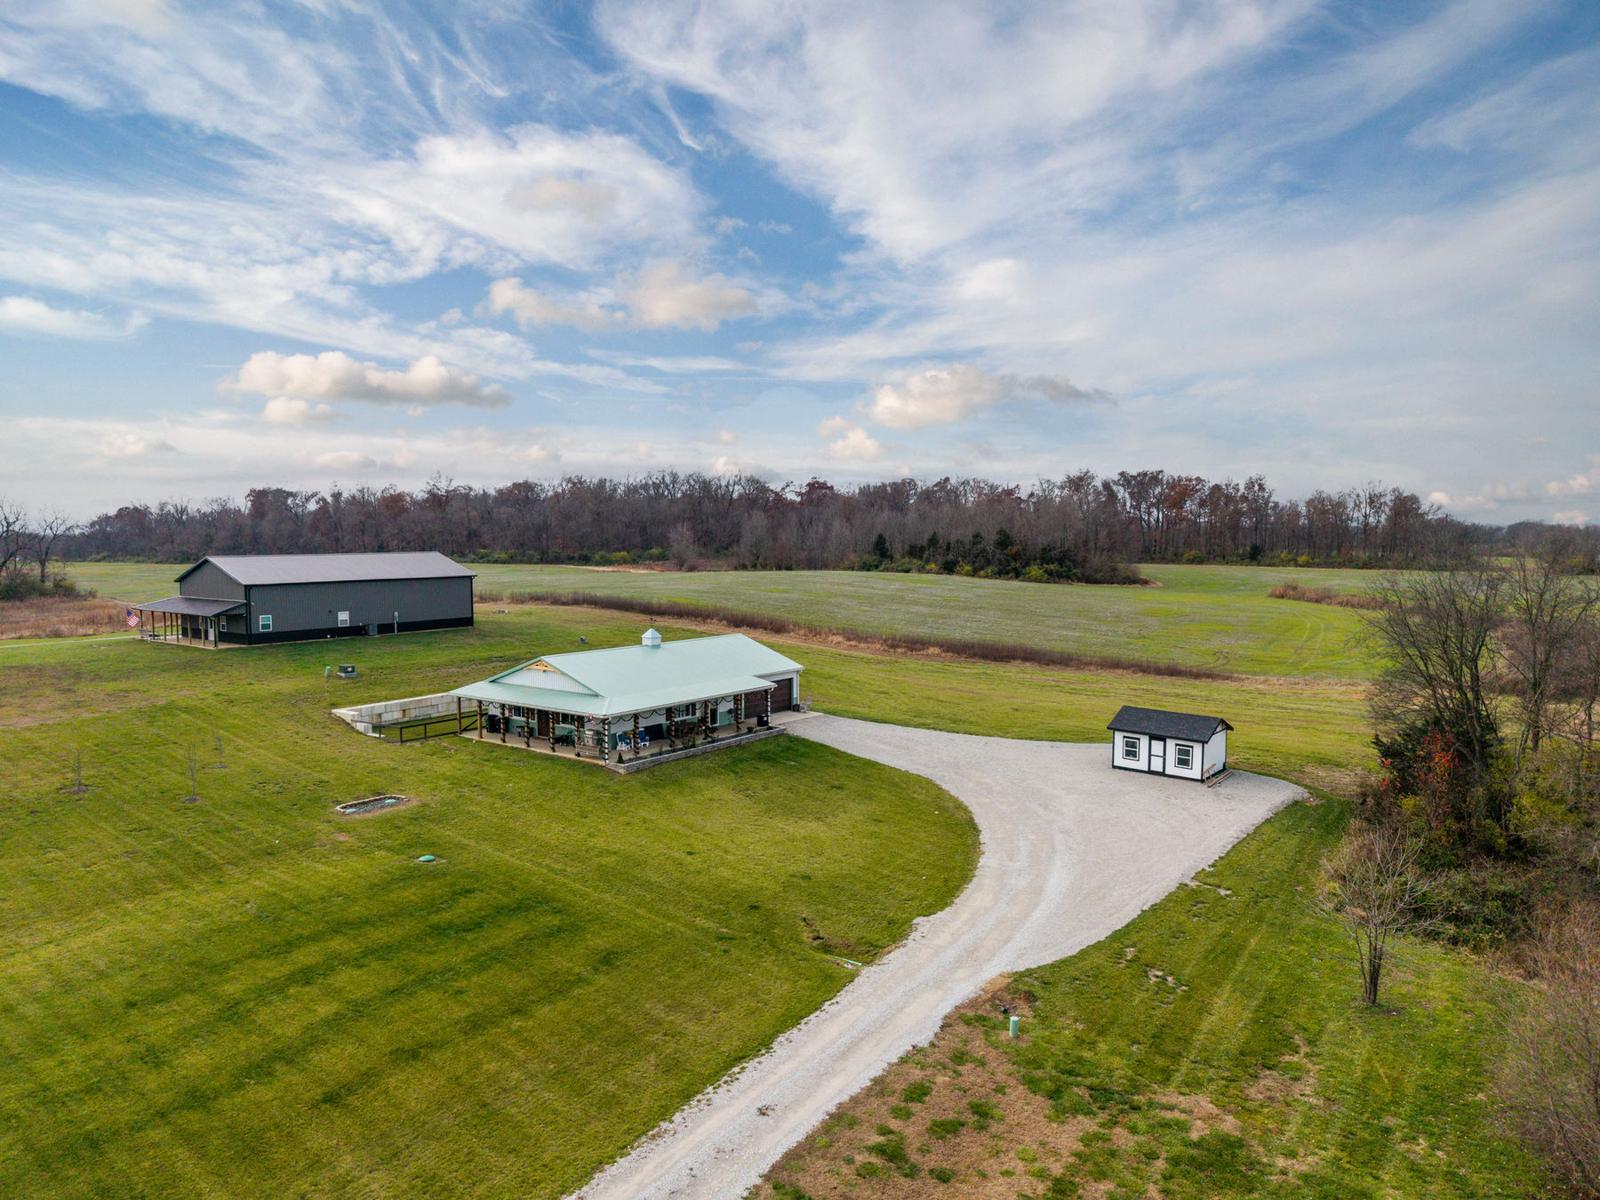
Before anything is priced, we look at the land. Where will the driveway go? How much grading is needed? Is there sewer, or will you need a septic system? Is there city water or a well? These answers affect the budget more than most people expect, so we deal with them first.
Walk the property with your builder before you fall in love with a plan. A house that fits the ground — the slope, the views, the way water drains — costs less to build and lives better for decades.
2. Plans, selections and pricing
Next we finalize the floor plan and the major selections — roofing, siding, windows, cabinetry, flooring, fixtures. Every decision made now is one that will not slow down construction later. The result is a line-item estimate you can actually read.
Selections are easier when you narrow them early. Pick a direction for the exterior and the kitchen first; most other choices follow from those two.
3. Permits and pre-construction
Permits are filed, long-lead materials like trusses and windows are ordered, and trade partners are scheduled. This stage is invisible from the road, but it is where schedules are won or lost.
Use this quiet stretch to confirm financing draws, insurance and utility applications. A few phone calls now keep the crews moving later.
4. Foundation and framing
Footers, foundation walls or slab, then framing. This is when the house suddenly appears and you can walk through rooms. It is also the best time to confirm outlet locations, window placement and any last layout tweaks.
Framing is also when changes are cheapest. Moving a wall on paper is free; moving it after drywall is not.
5. Dry-in and rough-ins
Roofing, house wrap and windows make the home weather-tight. Inside, plumbing, electrical and HVAC are roughed in, followed by inspections.
Walk the house again after rough-ins. Seeing where switches, outlets and vents landed is much easier before the walls are closed.
6. Insulation, drywall and finishes
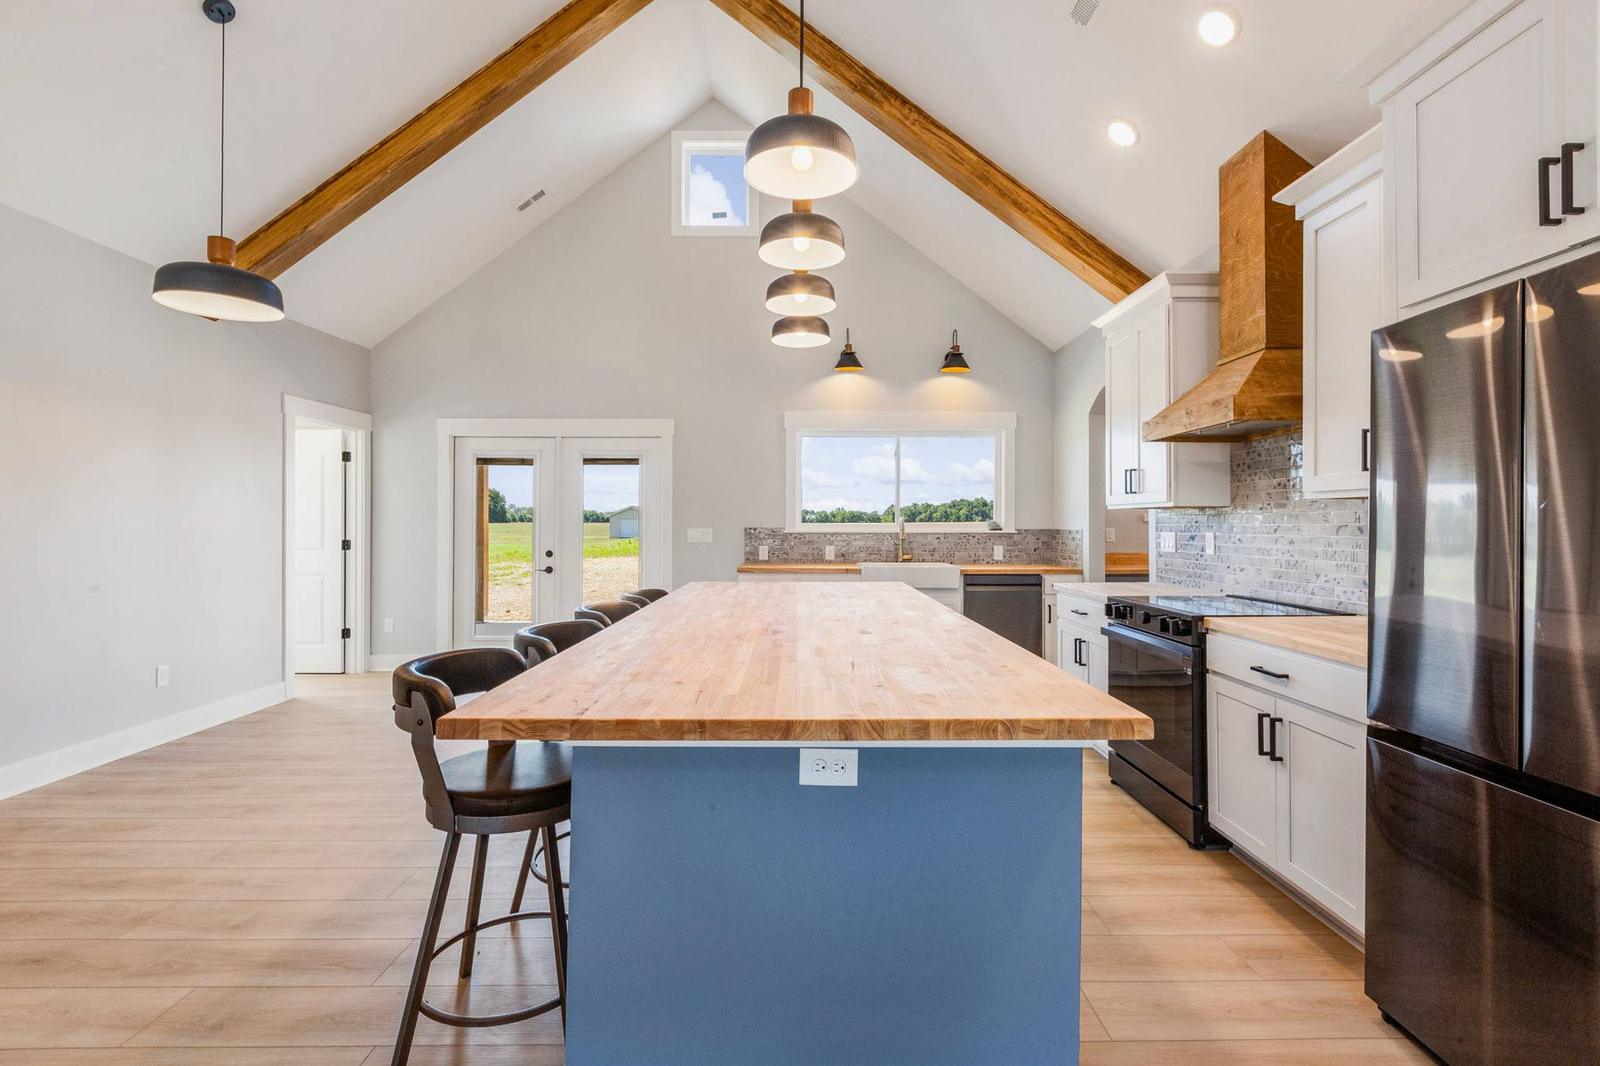
Insulation and drywall go up, then cabinets, countertops, tile, trim, paint, flooring and fixtures. This is the longest stretch and the most exciting one — the house starts to look like yours.
Expect the most decisions here: grout colors, paint, hardware, light fixtures. Keeping a simple list of what is still open helps everyone stay on schedule.
7. Final walkthrough and move-in
We walk every room with you, write down anything that needs attention, and close out the punch list before handing over the keys.
Keep the manuals and warranty information for your appliances and systems together. You will want them the first time something needs service.
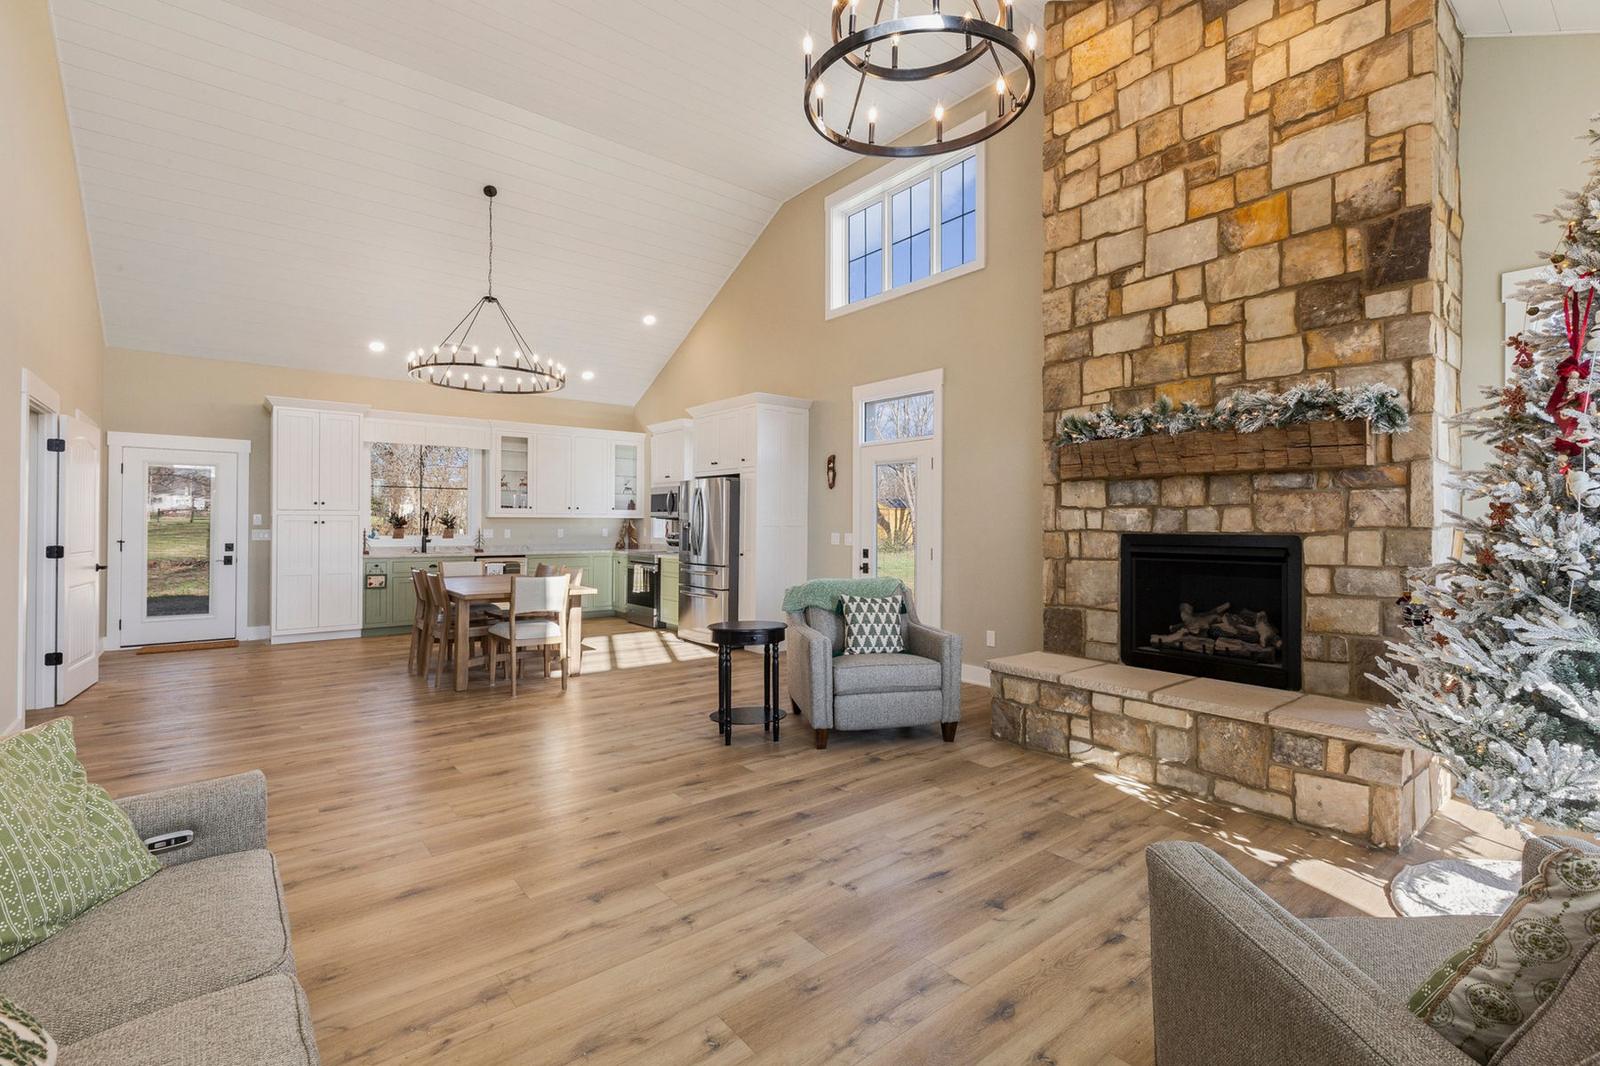
Thinking about building? Talk to Cody about your land and timeline.
More insights.
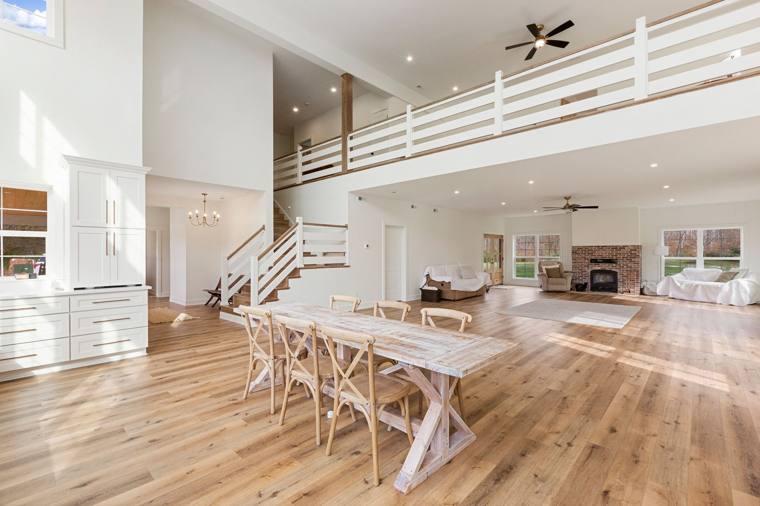 Planning
How to Choose the Perfect Floor Plan for Your Lifestyle
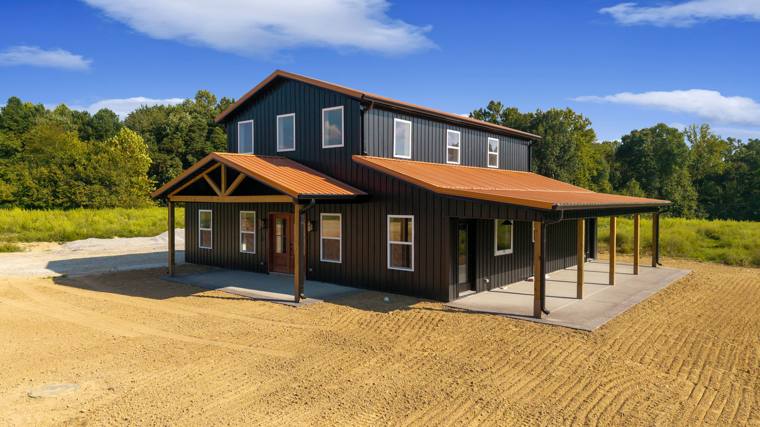 Building Science
How to Choose the Right Materials for Your New Home
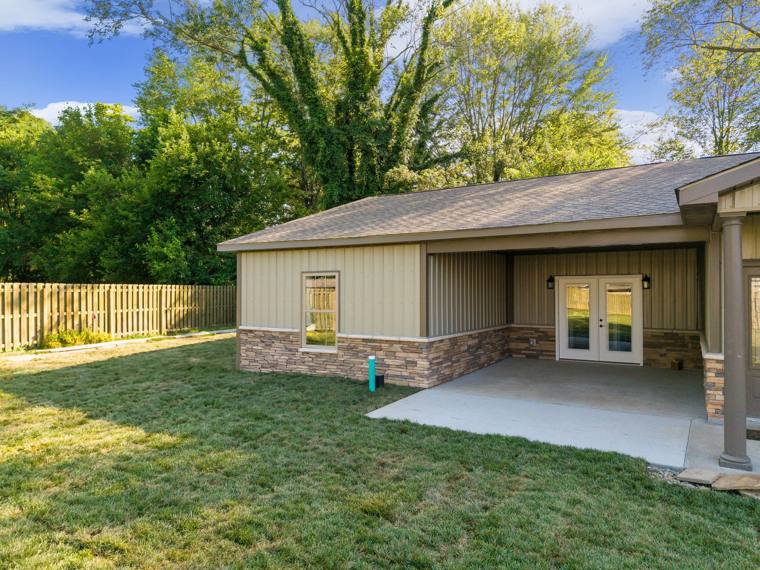 Additions
The Benefits of a Home Addition vs. Moving
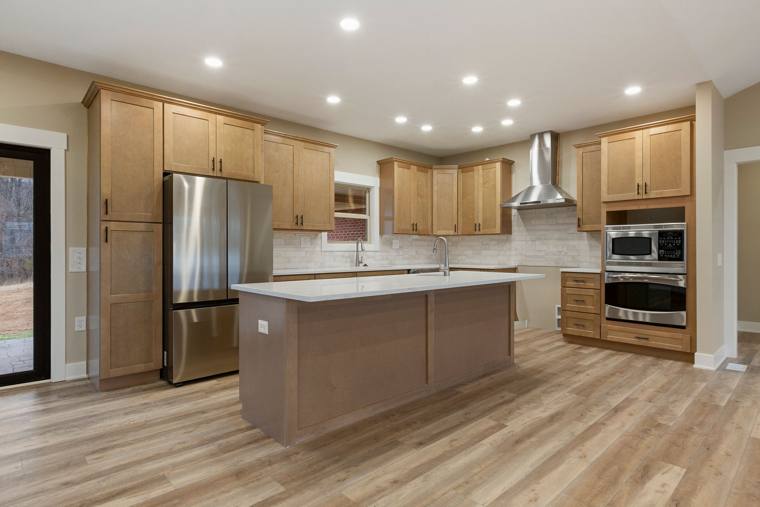 Remodeling
The Ultimate Guide to Planning a Kitchen Remodel
 Remodeling
Small Remodels with a Big Impact
 Remodeling
Increasing Your Home’s Value with a Smart Remodel
 Hiring a Builder
Why Hiring a Local Contractor Makes All the Difference
 Hiring a Builder